This page outlines key things to know about the new contact form (formerly known as intake form).
Creating a New Form
- On login, the user is directed to the Search area
- Select "Profile Search", enter any two required criteria to enable the “Search Profile” button which is any of the following:
- First and last name
- Last name and date of birth
- Last name and phone number
- Last name and zip
- Member ID
- Select "Profile Search", enter any two required criteria to enable the “Search Profile” button which is any of the following:
Click “Search Profile” and any matches will display in the Profile Matches grid
-
- Select the record that matches the consumer you are looking for and click “Create Contact Form For Selected User” to start a contact form for that consumer, if the user isn't listed, please select the "Start New Contact Form" button.
- If no records match the person, you are looking for click “No Profile Matches, Start New Contact Form” button
- Select the record that matches the consumer you are looking for and click “Create Contact Form For Selected User” to start a contact form for that consumer, if the user isn't listed, please select the "Start New Contact Form" button.
Transfer Contact Form
- On login, the user is directed to the Contact Form
- Enter in data including required information (Contact Basics, Location and any Attachments)
- Click “Transfer”
- A box will appear with a list of all transferable organizations to select from. Select the organization you want to transfer to, and the reason then click “transfer”
- An email with a link to the Contact Form is sent to the crisis operator that initiated the transfer as well as an email to the person that the intake form was transferred to.
- A box will appear with a list of all transferable organizations to select from. Select the organization you want to transfer to, and the reason then click “transfer”
Edit Contact Form
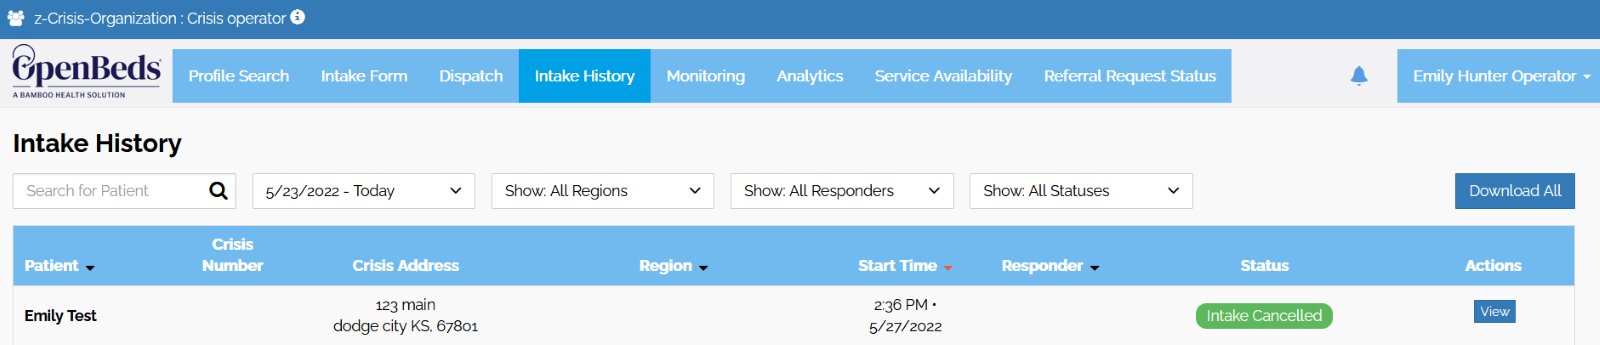
- Click Contact History navigation in the header
- Click View under actions on the row to review and edit
-
- Make Changes needed and click Save Progress
- Make Changes needed and click Save Progress
Cancel Contact
- Click Contact History navigation in the header
- Click "cancel" on the contact history row to cancel
- Click "yes" on the pop up that appears
- Once cancelled, the contact will appear on the contact form in the status of "contact cancelled"